


Understanding AI Image Prompts
At the heart of generating images with Microsoft Copilot Designer lies the concept of AI image prompts. These are textual instructions you provide to the AI, guiding it to create specific images. A well-crafted prompt can range from a simple phrase to a detailed paragraph, with at least six words recommended for optimal results. Including stylistic keywords can further refine the output.
Crafting Effective Prompts
The effectiveness of your prompt hinges on its specificity and detail. By incorporating various elements such as the image type, subject, context, details, lighting, framing, lens and camera, and style, you empower Copilot to generate images that closely match your vision. For instance, specifying a “vibrant panorama of a bustling city skyline at sunset” provides Copilot with enough detail to create a unique and visually appealing image.

Practical Examples and Tips
To illustrate, let’s explore a few practical examples and tips for crafting effective prompts:
Start Simple: Begin with basic prompts like “Create an image of a cat” or “Generate a landscape of a forest.” These serve as starting points for exploring more complex imagery.
Add Details: Enhance your prompts by adding descriptive elements. For example, “Create a lifelike portrait of a woman with flowing hair against a backdrop of a serene mountain range.”
Specify Style: Incorporating stylistic preferences, such as “in the style of impressionist painting,” guides Copilot towards creating images that align with your aesthetic goals.
Ensuring Quality and Safety
It’s crucial to approach AI image generation with awareness of potential limitations and safety considerations. Copilot employs measures to prevent the generation of harmful images, automatically blocking prompts and images that violate content policies. Users are encouraged to review generated images carefully and report any concerns to contribute to the continuous improvement of the system.
Conclusion
By leveraging the power of AI image prompts in Microsoft Copilot Designer, you unlock a world of creative possibilities. With careful attention to detail and specificity in your prompts, you can guide the AI to generate images that bring your visions to life. Remember, the journey of discovering the perfect prompt is part of the creative process itself, offering endless opportunities for exploration and innovation.
Mastering Image Generation with Microsoft Copilot Designer
Dive into the world of Microsoft Copilot Designer and explore its powerful image generation features. This section aims to equip you with advanced strategies and insights into crafting effective image generating prompts, taking your creative endeavors to new heights. Whether you’re an experienced professional or just starting out, we’ll navigate through the intricacies of leveraging artificial intelligence to generate compelling visual content.
Understanding Image Generating Prompts
At the heart of creating with Microsoft Copilot Designer lies the concept of image generating prompts. These prompts serve as the foundation for instructing the AI model on what kind of image you desire. Think of them as a set of instructions or clues that guide the AI in generating an image that matches your vision.
Crafting Effective Prompts
Crafting effective prompts is both an art and a science. It involves understanding the nuances of language and how they translate into visual outputs. Here’s a simple example to illustrate:
- Prompt: “Generate an image of a serene forest.”
- Result: A tranquil scene featuring towering trees, a babbling brook, and a soft, dappled sunlight filtering through the leaves.
This example demonstrates how a well-crafted prompt can lead to highly specific and visually appealing results. The key to success lies in being descriptive yet concise, focusing on the essential elements you wish to see in the generated image.
Practical Applications and Examples
Let’s delve into some practical applications to further clarify how image generating prompts work in real-world scenarios.
Creative Design Projects
For designers, Microsoft Copilot Designer offers a plethora of possibilities. Imagine needing a series of images for a website redesign. By providing prompts such as “vibrant city skyline at sunset” or “minimalist abstract patterns,” you can quickly generate a variety of images that align perfectly with your design theme.
Educational Content Creation
Educators and content creators can also benefit significantly. Suppose you’re developing educational materials on environmental conservation. Prompting the AI with “a group of children planting trees” could yield powerful imagery that resonates with your audience and reinforces your message.
Enhancing Your Skills
To truly master the art of image generation with Microsoft Copilot Designer, practice is essential. Start with simpler prompts and gradually introduce complexity. Experiment with different descriptions, incorporating various themes, objects, and settings. Over time, you’ll develop a keen sense of what works best, allowing you to achieve remarkable results with greater efficiency.
Conclusion
Harnessing the power of Microsoft Copilot Designer for image generation is an exciting venture that opens doors to endless creativity. By understanding and mastering the art of crafting effective prompts, you unlock a world of possibilities, enabling you to bring your visions to life with stunning clarity and precision.
Transforming Text into Art: An Introduction to Image Generating Prompts for Microsoft Copilot Designer
Understanding Image Generating Prompts
Image generating prompts are a revolutionary tool in the realm of artificial intelligence, specifically designed for platforms like Microsoft Copilot Designer. At its core, this technology utilizes advanced AI models such as DALL·E 3 to convert textual descriptions into stunning visual outputs. Imagine you have a concept in mind but need a visual representation to bring it to life—image generating prompts do exactly that, turning your thoughts into tangible images.
How It Works
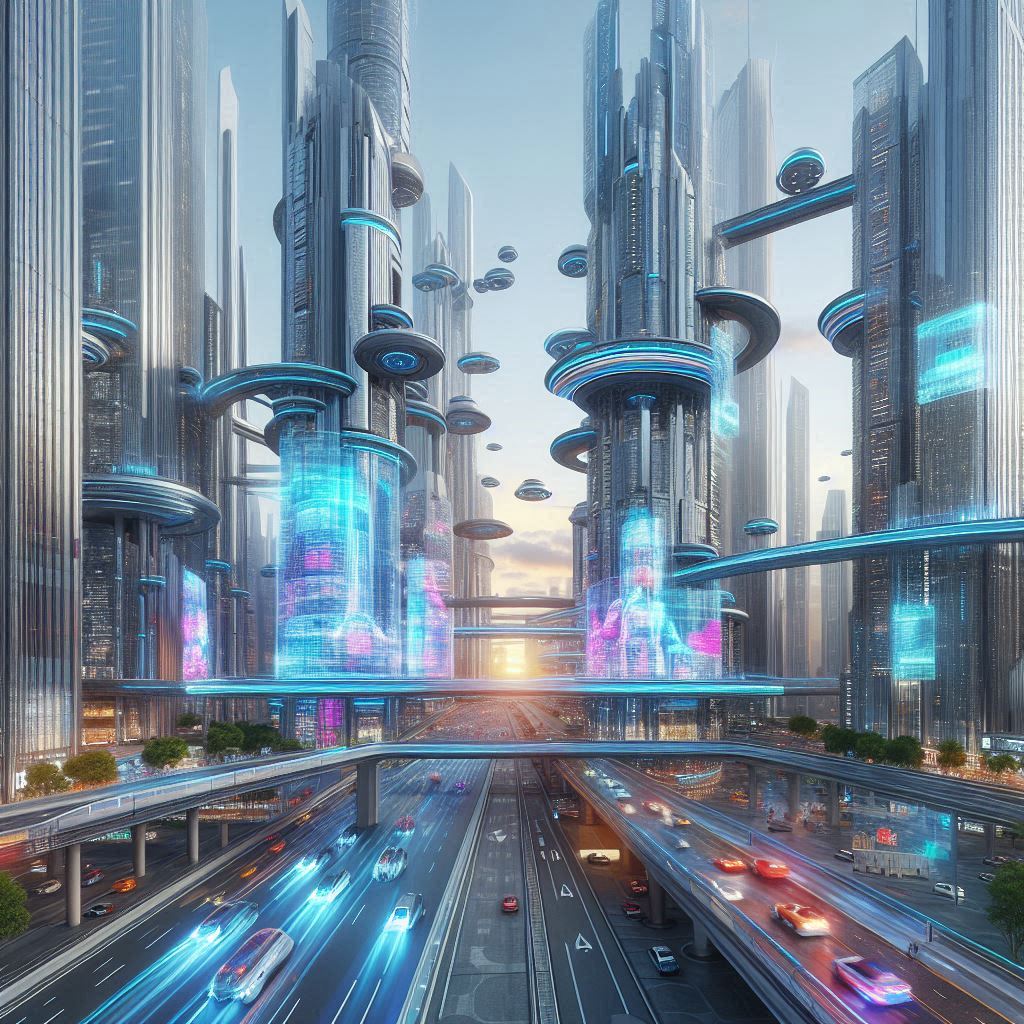
To grasp how image generating prompts work, let’s delve into a simple example. Suppose you want to create an image depicting a futuristic city skyline at sunset. Instead of manually drawing or searching for stock photos, you input this description into Microsoft Copilot Designer. The platform then uses its AI model to interpret your prompt and generates an image that matches your vision. This process is akin to having a digital artist interpret your ideas and create a piece of art based on your specifications.
Practical Applications
The applications of image generating prompts are vast and varied. Whether you’re designing a presentation, creating content for social media, or developing visuals for a document, these tools offer a quick and efficient way to obtain high-quality images. For instance, a designer might use image generating prompts to quickly prototype a new product design or to visualize potential layouts before committing to a physical mockup.
Advantages Over Traditional Methods
Compared to traditional methods of image creation, which often involve manual drawing, photography, or sourcing stock images, image generating prompts offer several advantages. Firstly, they save time by automating the image generation process. Secondly, they eliminate the need for extensive search through stock photo databases. Lastly, they allow for customization and creativity, enabling users to experiment with various descriptions until they achieve the desired outcome.
Conclusion
In summary, image generating prompts for Microsoft Copilot Designer represent a significant leap forward in the intersection of AI and creative design. By transforming text into art, they democratize access to high-quality visual content, making it accessible to individuals without formal artistic training. As AI continues to evolve, we can expect even more innovative features and capabilities in this exciting field.
Access and Availability
Exclusive to Copilot Pro users, the image generating prompts feature highlights Microsoft’s dedication to providing top-tier tools to its subscribers. This exclusive access ensures that users receive advanced capabilities tailored to enhance their creative process.
Content Safety Measures
At the heart of Copilot’s design is a robust system of safety measures. These stringent controls guarantee the generation of images that are both safe and appropriate, protecting users from inadvertently accessing or creating potentially harmful content. This commitment to user safety sets Copilot apart in the realm of AI-powered creativity tools.
Continuous Improvement
Microsoft’s approach to innovation is marked by a cycle of continuous improvement. Through extensive testing and invaluable user feedback, Copilot’s performance is regularly enhanced. This ongoing refinement ensures not only the reliability but also the accuracy of the image generation process, making each creation a testament to the power of technology and human collaboration.
Crafting Effective Prompts for Microsoft Copilot Designer
Understanding how to create compelling prompts is crucial when working with Microsoft Copilot Designer, especially for generating images. This section delves into the art of crafting prompts that leverage AI’s capabilities to produce the desired visual outputs. Let’s break down the process into manageable steps and explore practical examples to enhance your proficiency.
The Basics of AI Language and Imagery Recognition
At its core, Microsoft Copilot Designer utilizes advanced algorithms to interpret human language and translate it into visual elements. This process involves two primary components: AI language recognition and imagery generation.
AI Language Recognition: This refers to the AI’s ability to understand and process textual inputs. It’s akin to teaching the AI how to read and comprehend instructions in plain English.
Imagery Generation: Once the AI understands the context of the prompt, it generates corresponding visuals. Think of it as translating a recipe into a delicious meal.
Crafting Precise Prompts
To harness the full potential of Microsoft Copilot Designer, it’s essential to craft prompts that are both specific and open-ended. Here’s how:
Specificity in Prompts
Being specific helps the AI focus on creating exactly what you envision. For instance, instead of asking for “a cat,” specify “a Siamese cat sitting on a windowsill.” This level of detail guides the AI towards generating a more accurate representation.
Open-Endedness in Prompts
On the flip side, being too restrictive can limit creativity. An open-ended prompt allows room for interpretation while still guiding the outcome. For example, “design a futuristic cityscape” invites various interpretations but keeps the theme focused.
Practical Examples
Let’s dive into a couple of examples to see these principles in action.
Example 1: Designing a Logo
Imagine you need a logo for a tech startup named “InnovateNow”. A well-crafted prompt might be:
"Design a modern, sleek logo for InnovateNow, incorporating elements of technology and innovation."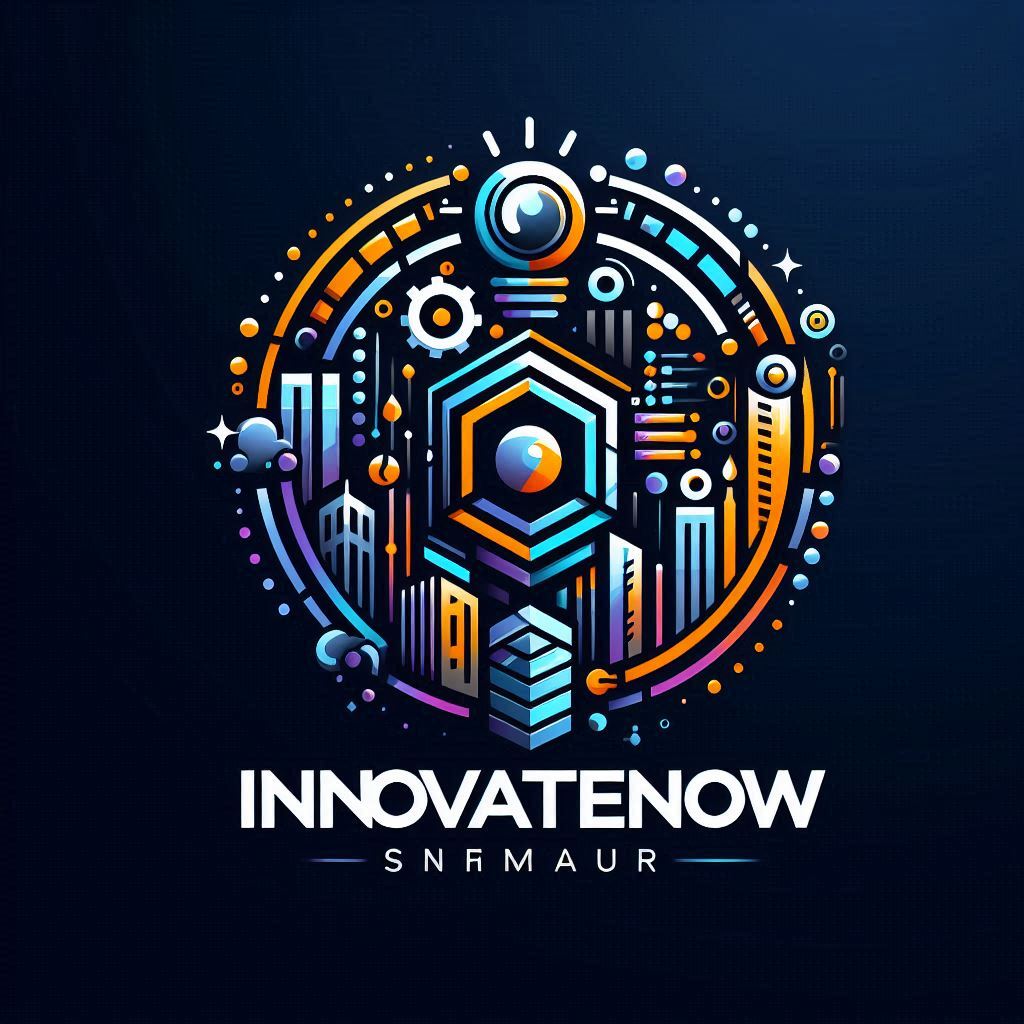


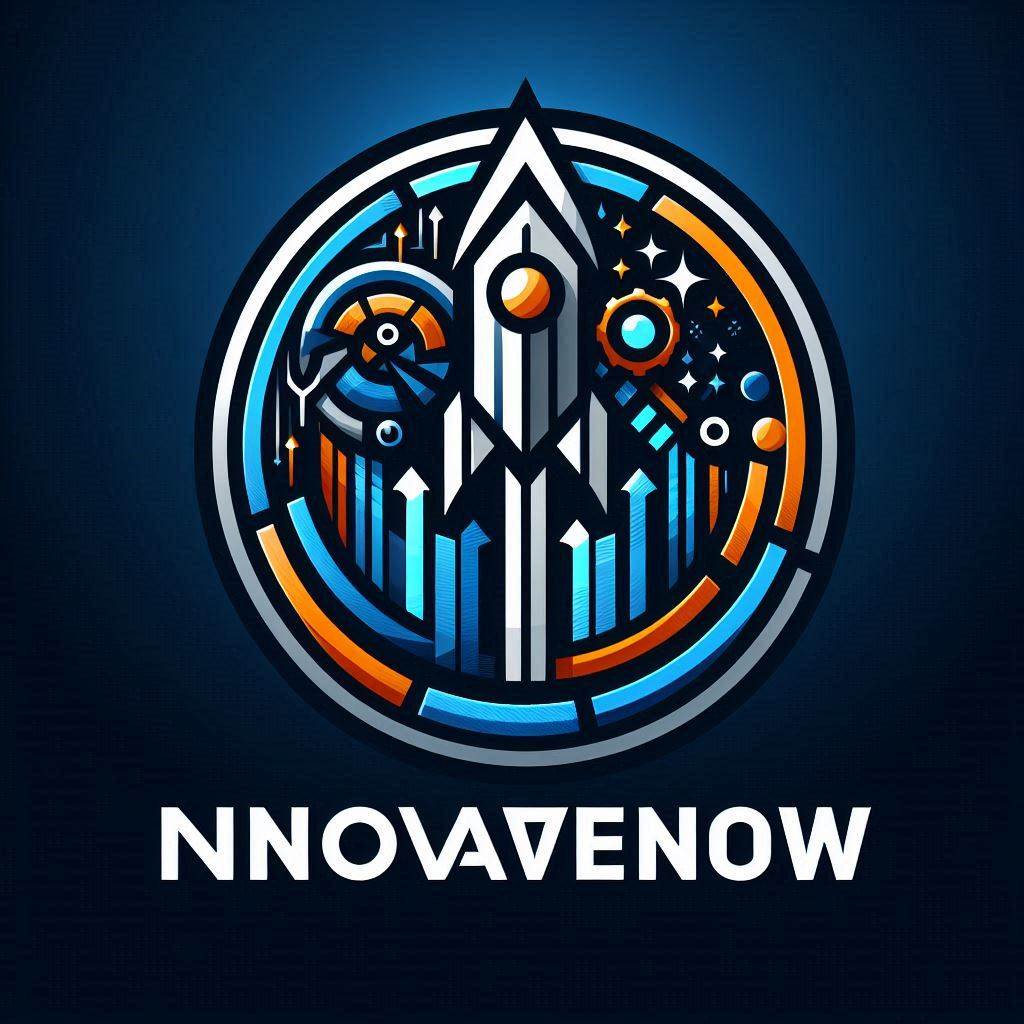
This prompt is specific about the style (“modern, sleek”) and includes keywords related to the company’s identity (“technology”, “innovation”).
Example 2: Creating a Conceptual Art Piece
For a more abstract task, such as creating a conceptual art piece, you might use:
"Generate an abstract artwork featuring a blend of organic shapes and geometric patterns, evoking a sense of harmony between nature and technology."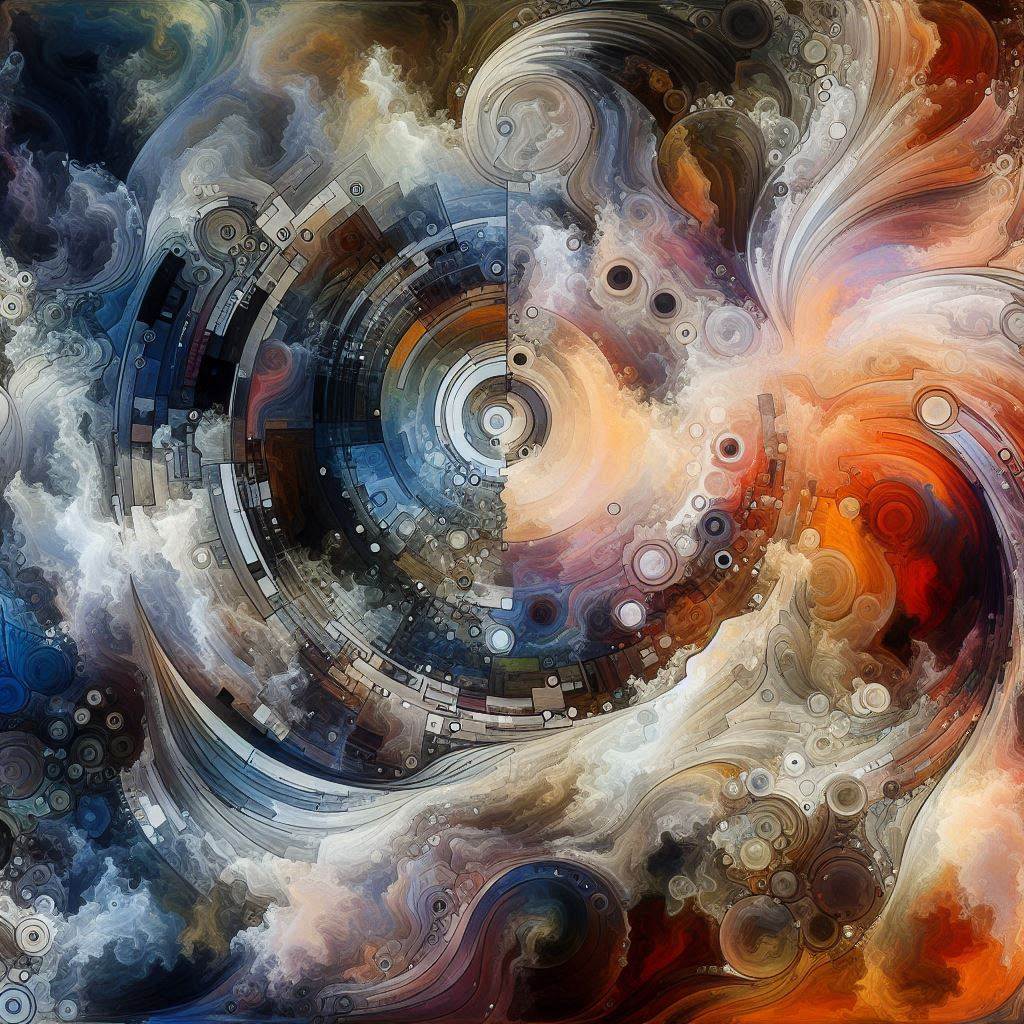
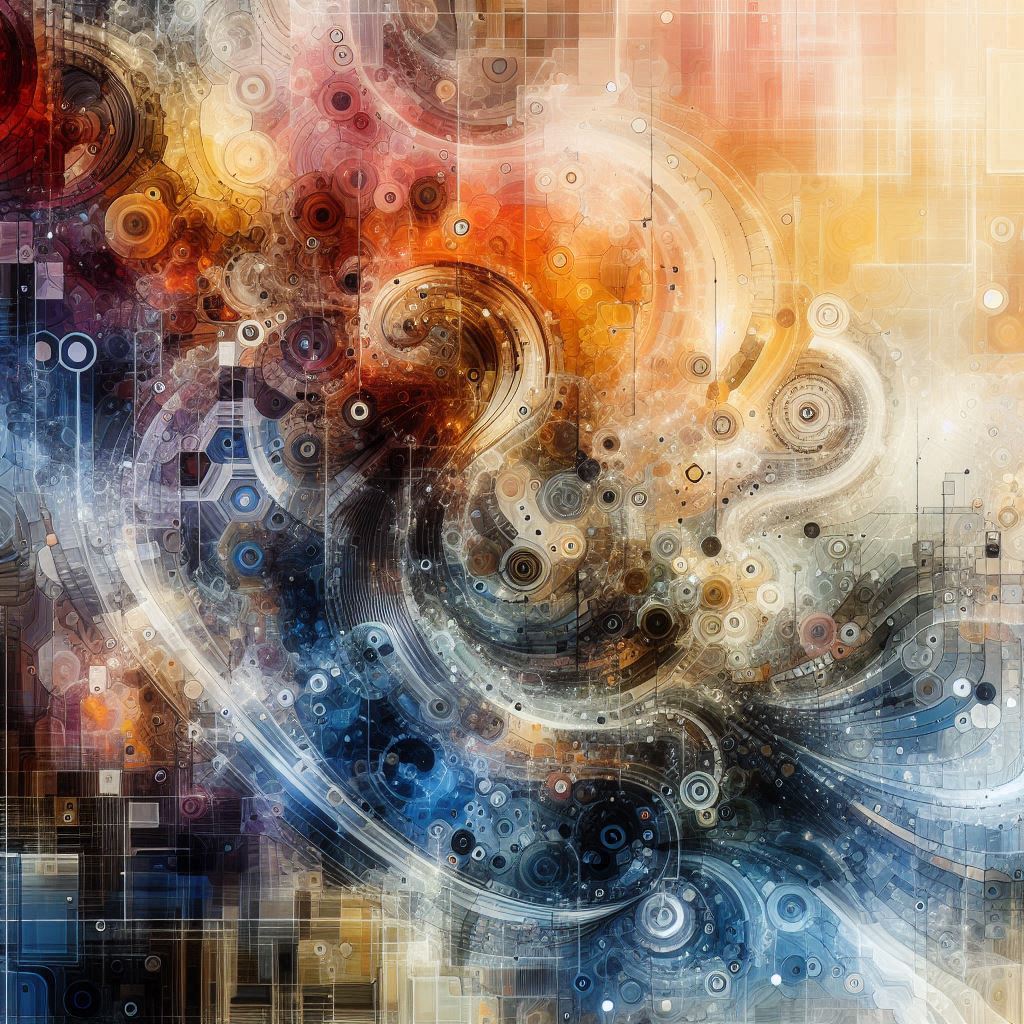
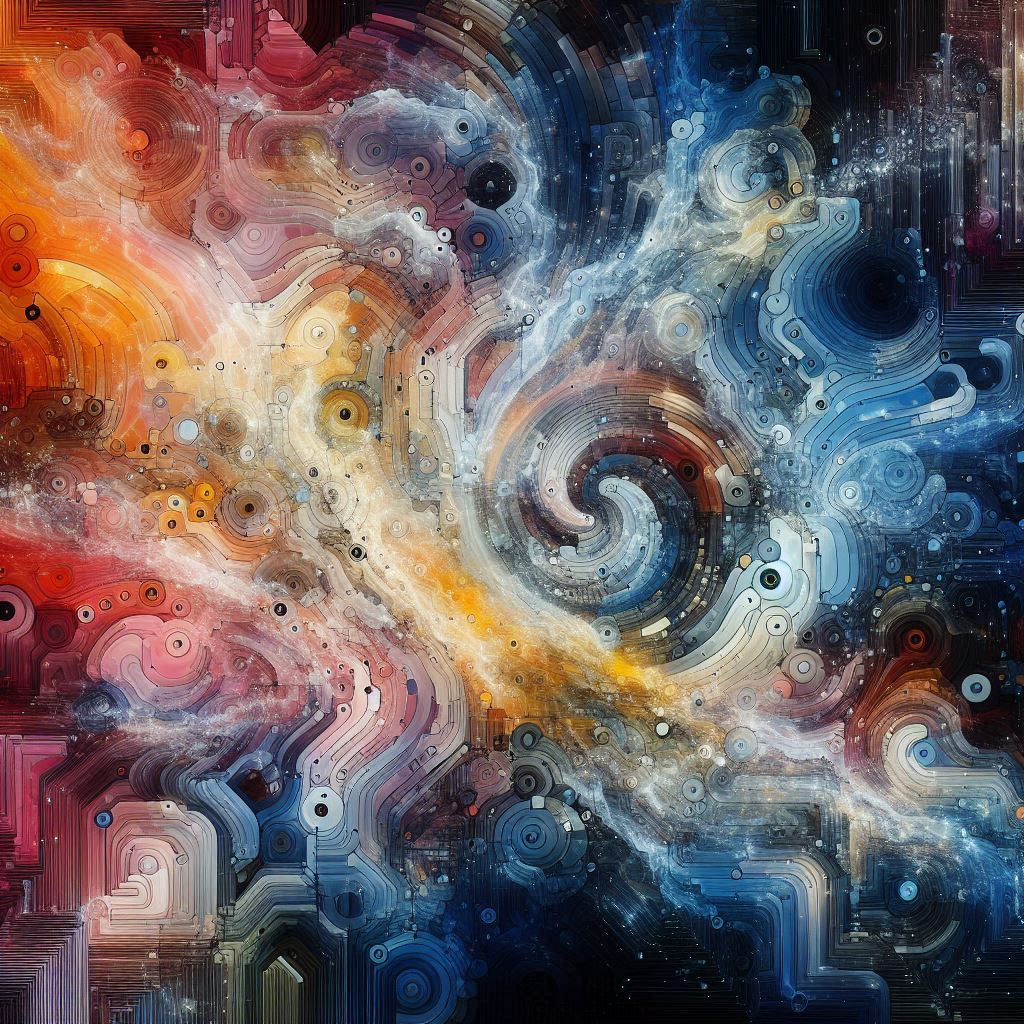
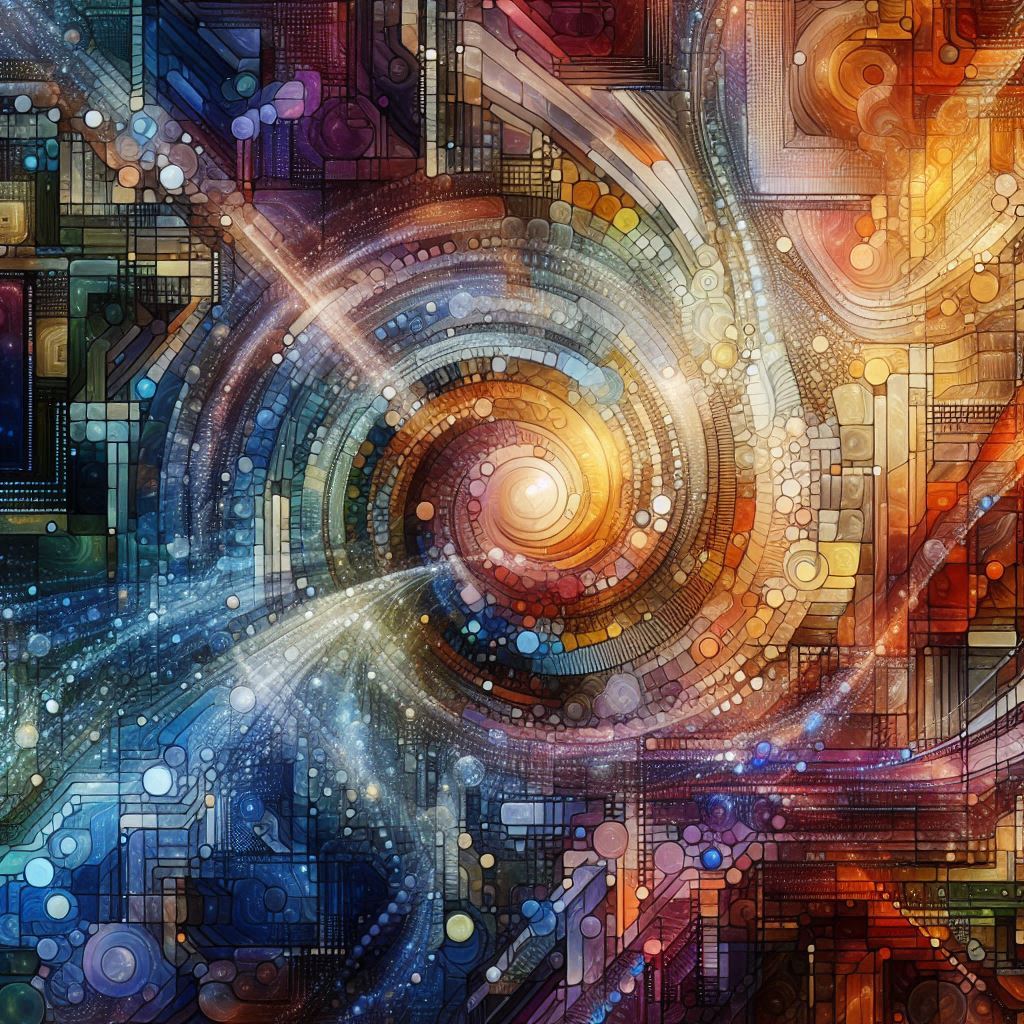
This prompt is open-ended, allowing for creative freedom, but also provides clear direction through descriptive adjectives and thematic keywords.
Conclusion
Crafting effective prompts for Microsoft Copilot Designer requires a balance of specificity and openness. By understanding the fundamentals of AI language and imagery recognition, and applying these principles in your prompts, you can unlock the full potential of this powerful tool. Remember, the key lies in clear communication—speaking the AI’s language to guide it towards creating visuals that match your vision.
Understanding Image Generating Prompts for Microsoft Copilot Designer
Crafting Effective Prompts
When diving into the world of image generation with Microsoft Copilot Designer, one of the first steps is mastering the art of crafting effective prompts. A prompt, in this context, is essentially a set of instructions or cues that guide the AI in generating the desired image. Think of it as giving directions to a friend who’s blindfolded; the clarity and specificity of your instructions will significantly influence the outcome.
Key Components of a Prompt
Simplicity and Clarity: Start with simple, clear statements. Avoid jargon and complex sentences that might confuse the AI. For example, instead of saying “Create an abstract representation of chaos,” opt for “Design an image that conveys disorder.”
Descriptive Language: Use vivid, descriptive language to paint a picture in the AI’s mind. This helps in guiding the AI towards the intended mood or theme. For instance, “A serene landscape under a full moon” provides a much clearer vision than “Moonlight scene.”
Specificity: Be as specific as possible. If you want a sunset over the ocean, specify the time of day, the season, and even the type of clouds you envision. Precision in your prompt leads to precision in the generated image.
Experimenting with Prompts
Once you’ve grasped the basics of crafting prompts, the next step is experimentation. This phase is all about exploring the limits of what Copilot can do with your prompts. It’s akin to being a painter experimenting with different brush strokes and colors to achieve the perfect canvas.
Tips for Successful Experiments
Variety of Descriptions: Mix up your descriptions. Sometimes, adding adjectives or changing the perspective can yield surprising results. For example, comparing “A bustling city street during rush hour” with “An aerial view of a city street during rush hour” could lead to two very different images.
Play with Styles: Experiment with different artistic styles. Mentioning “in the style of impressionism” or “with a pop art twist” can alter the entire vibe of the generated image.
Iterative Refinement: Don’t settle on the first result. Iteratively refine your prompts based on the outcomes. If an image isn’t quite hitting the mark, tweak your description until you get closer to your vision.
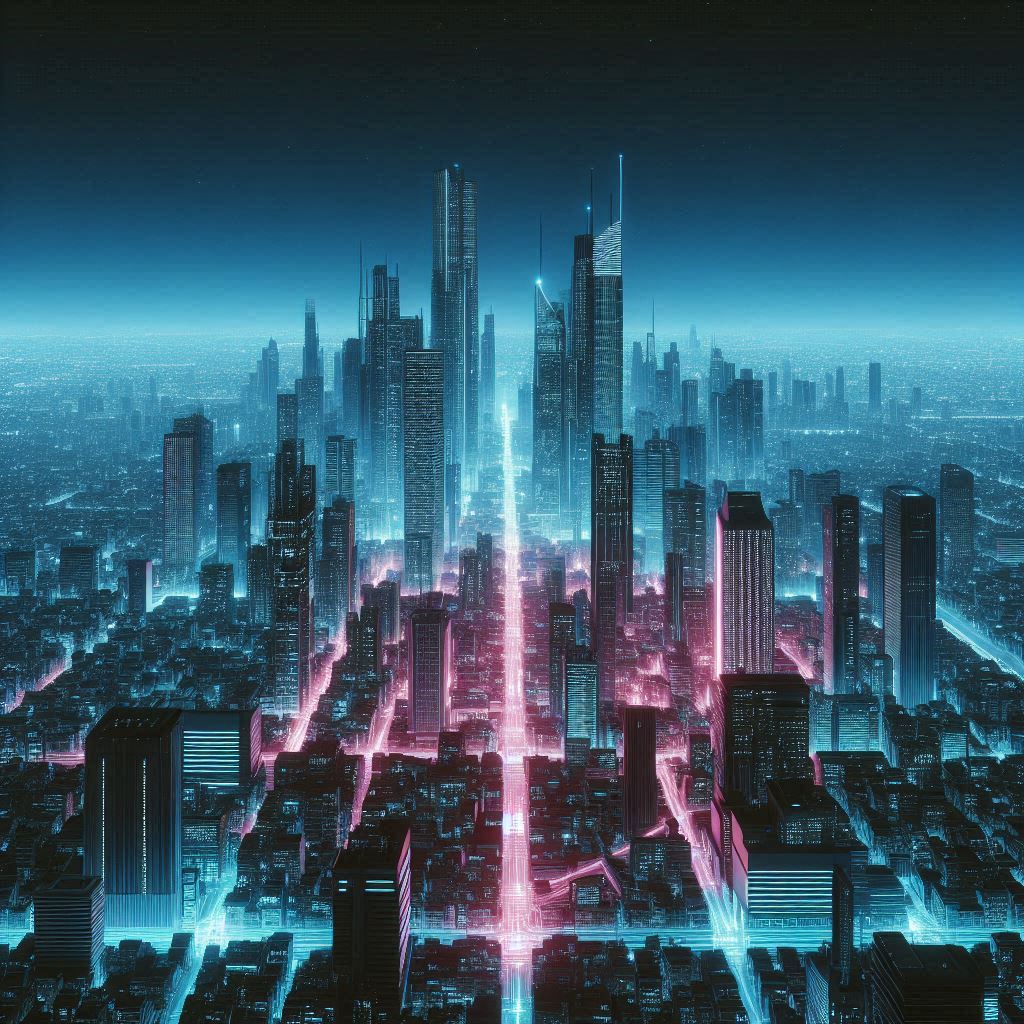
Practical Example
Let’s say you want to generate an image of a futuristic cityscape. Your initial prompt might be "Design a futuristic cityscape." After seeing the results, you realize you want more neon lights and less sky. Adjusting your prompt to "Generate an image of a neon-lit futuristic cityscape with minimal sky" could lead to a more aligned outcome.
Conclusion
Mastering the craft of image generating prompts for Microsoft Copilot Designer involves understanding the importance of simplicity, clarity, and specificity in your instructions. Coupled with a willingness to experiment and iterate, you can unlock a vast array of creative possibilities. Remember, the journey of creating with AI is as rewarding as it is fun, offering endless opportunities to explore and express your creativity.
Enhancing Your Images with Microsoft Copilot Designer
After creating an image, the next step is to utilize Copilot’s sophisticated editing suite to polish and personalize your artwork. This section delves into how you can adjust lighting, incorporate filters, and experiment with artistic effects to realize your creative vision fully.
Adjusting Lighting
Lighting plays a pivotal role in setting the mood and atmosphere of your image. With Copilot Designer, you have the flexibility to fine-tune the lighting conditions of your image. Whether you aim to create a bright, sunny scene or a moody, shadowy ambiance, adjusting the light settings allows you to achieve the desired effect.
Example: Imagine you’ve captured a stunning landscape but feel it lacks warmth. By increasing the ambient light level, you can infuse the scene with a cozy glow, making it appear more inviting.
Applying Filters
Filters are a quick and easy way to transform the look and feel of your image. They can enhance colors, add vintage flair, or even give your photo a dreamy quality. Experimenting with different filters can help you discover new perspectives and interpretations of your original creation.
Tip: Start with subtle adjustments and gradually increase the intensity of the filter until you find the perfect match for your image’s style.
Exploring Artistic Effects
Artistic effects open up a world of creativity, allowing you to push the boundaries of traditional photography. From abstract patterns to realistic textures, these effects enable you to express your unique artistic voice.
How-To: To apply an artistic effect, select the “Effects” option from the editing menu. Browse through the available options and choose one that resonates with your vision. For instance, applying a “Watercolor” effect can turn a regular photograph into a piece of art reminiscent of a watercolor painting.
Practical Application: A Step-by-Step Guide
- Open Your Project: Launch Copilot Designer and open the image you wish to edit.
- Access Editing Tools: Navigate to the editing toolbar located at the top of the screen.
- Adjust Lighting: Click on the “Lighting” icon and adjust the sliders to modify the brightness, contrast, and shadows according to your preference.
- Apply Filters: Select the “Filters” tab and choose from a variety of presets. Try different filters to see which one complements your image best.
- Experiment with Effects: Go to the “Effects” section and explore the range of artistic effects available. Apply effects to transform your image into something truly unique.
By mastering these techniques, you can elevate your images from good to extraordinary, showcasing your creativity and skill with every click. Remember, the key to great editing lies in experimentation and patience—don’t be afraid to try new things and see what works best for your project.
Enhancing Your Images with Microsoft Copilot Designer
Selecting Unique Effects
When crafting images with Microsoft Copilot Designer, one of the key aspects to consider is how to enhance your creations with distinctive effects. These effects can significantly alter the mood and style of your images, making them stand out. Among the various options available, three notable effects are “Pixel Art,” “Watercolor,” and “Block Print.”
Pixel Art: This effect gives your images a retro, pixelated look, reminiscent of early video games or digital art from the 80s and 90s. It’s perfect for adding a nostalgic feel or creating designs that mimic the aesthetic of pixel-based graphics.
Watercolor: Transforming your images into watercolors adds a soft, dreamy quality. This effect is ideal for creating artwork that conveys a sense of tranquility or whimsy, with its smooth gradients and gentle blending.
Block Print: For a more graphic and bold appearance, the Block Print effect is a great choice. It simulates the look of traditional woodblock prints, featuring sharp contrasts and flat areas of color. This effect is well-suited for designs that aim to be striking and geometric.
Editing in Copilot Designer
After selecting the desired effect, the next step is to refine your image further through editing within Copilot Designer. This tool offers a comprehensive suite of editing features, allowing you to make precise adjustments to ensure your final image aligns seamlessly with your original vision.
Utilizing the Edit Feature: By choosing the “Edit In Copilot Designer” option, you gain access to a wide array of tools for fine-tuning your image. These tools include adjustments for brightness, contrast, saturation, and more, enabling you to achieve the exact look and feel you’re aiming for.
Achieving Precision: With Copilot Designer’s advanced editing capabilities, you can meticulously adjust every aspect of your image. Whether you’re looking to enhance certain elements, correct colors, or apply additional effects, the platform provides the necessary tools to bring your concept to life accurately.
By combining the selection of unique effects with the precision editing offered by Copilot Designer, you can create images that are not only visually appealing but also deeply reflective of your creative intent. Whether you’re a seasoned designer or just starting out, exploring these features can open up a world of possibilities for your digital artwork.
Mastering Image Generation with Microsoft Copilot Designer
Dive into the world of Microsoft Copilot Designer and unlock the potential of AI-driven image creation. This innovative tool isn’t just about generating images; it’s about pioneering the next frontier of creative expression. By harnessing its capabilities, you’re stepping into a realm where technology meets artistry, setting the stage for groundbreaking visual experiences.
Understanding Image Generation Prompts
At the heart of Microsoft Copilot Designer lies the concept of image generation prompts. These prompts serve as the blueprint for what you want to create. They guide the AI in generating images that align with your vision, whether it’s a realistic landscape, a whimsical character design, or anything in between.
Crafting Effective Prompts
Creating effective prompts is akin to writing a detailed recipe for a dish you’ve never cooked before. It requires specificity but also leaves room for creativity. For instance, instead of simply saying “a cat,” you might specify “a majestic lion with golden fur, perched atop a rocky cliff under a setting sun.” This level of detail helps the AI understand the nuances of your request, leading to more accurate and visually appealing results.
Practical Examples and Code Snippets
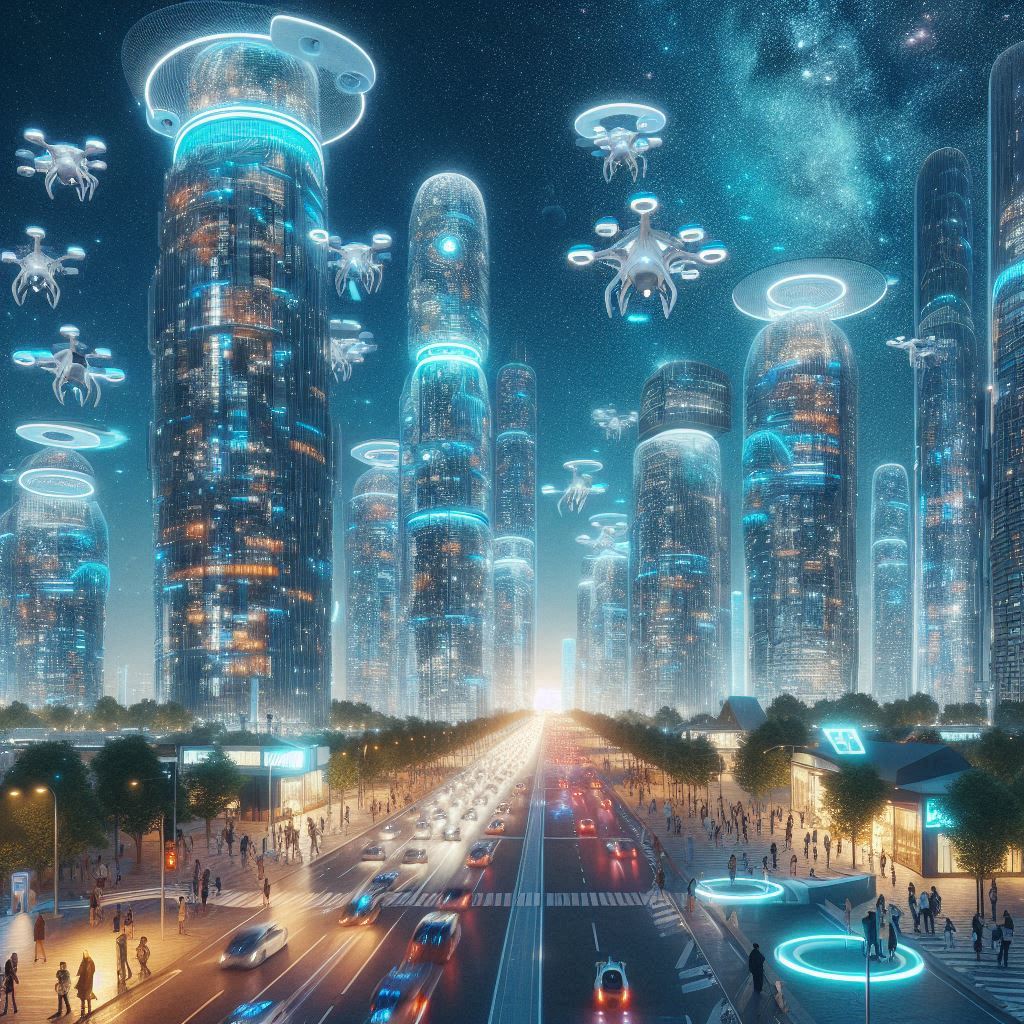
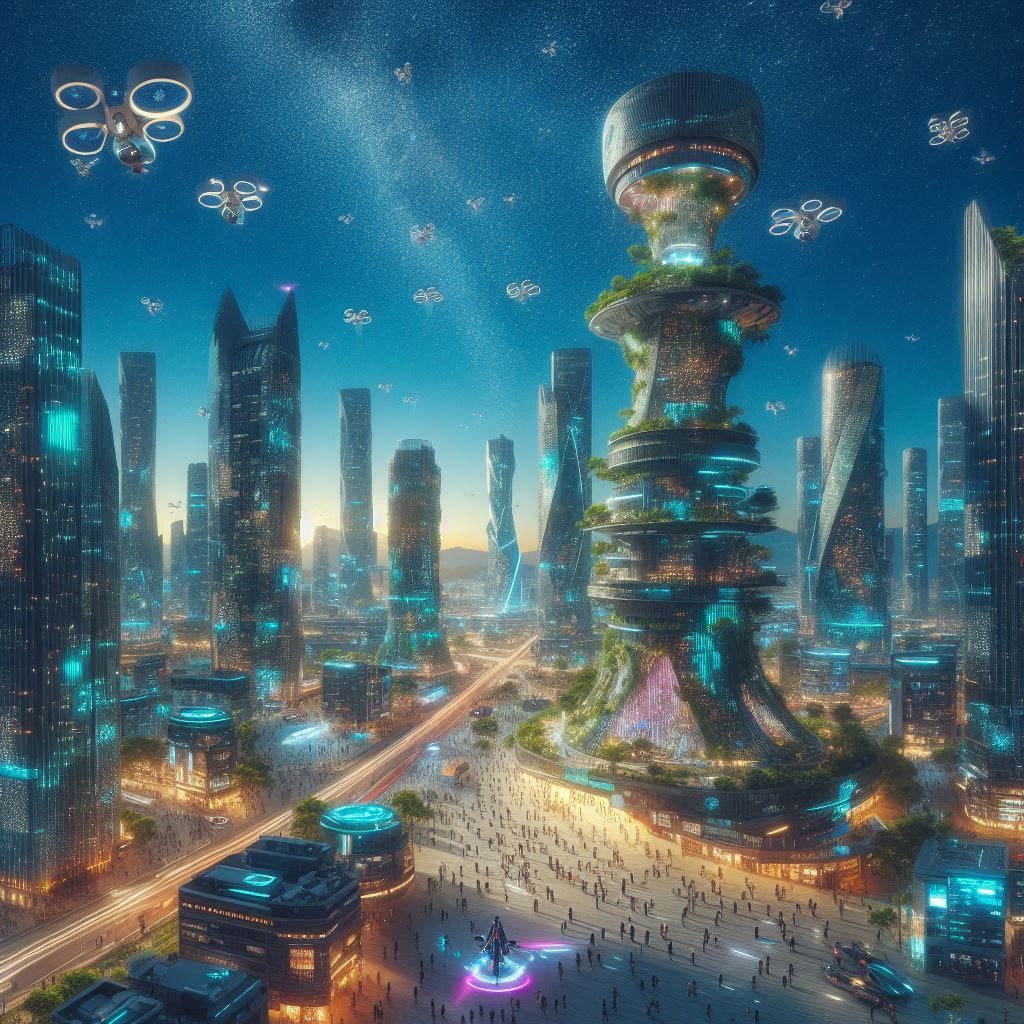
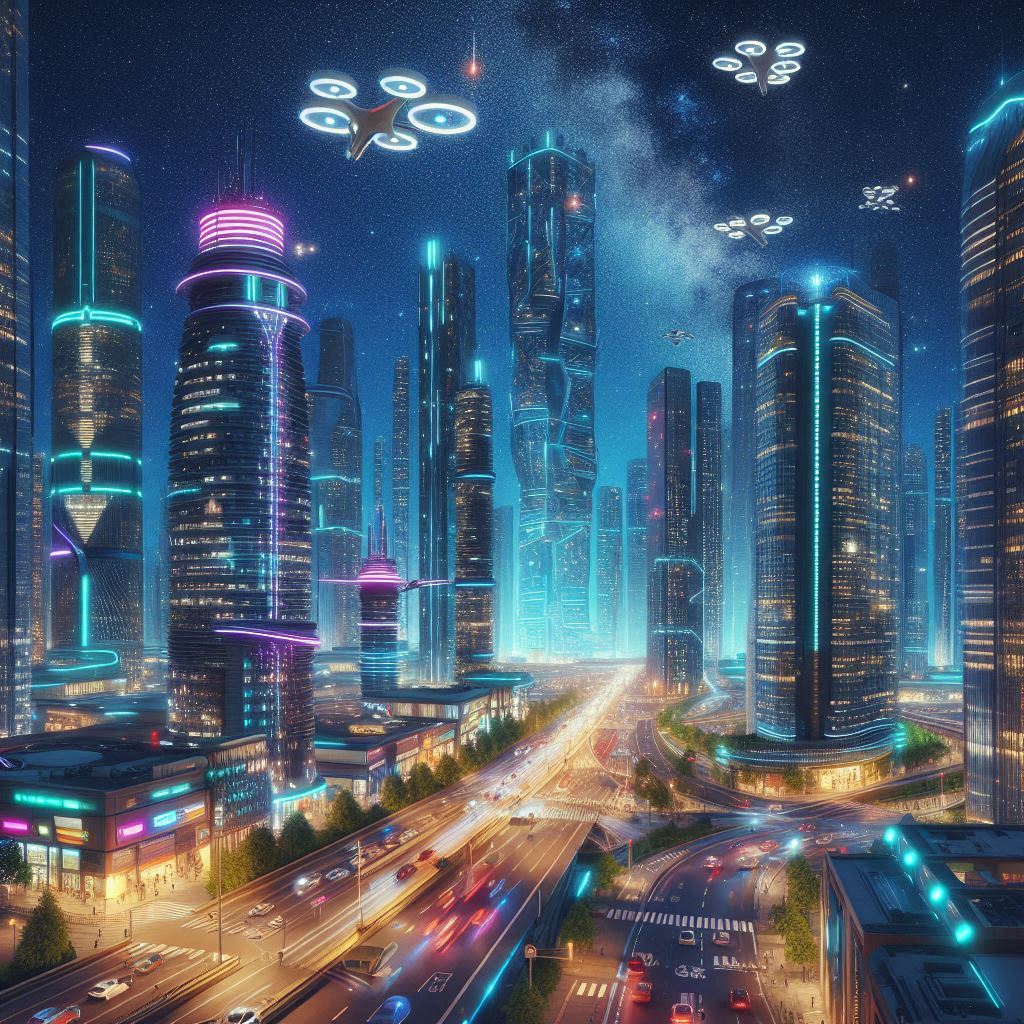
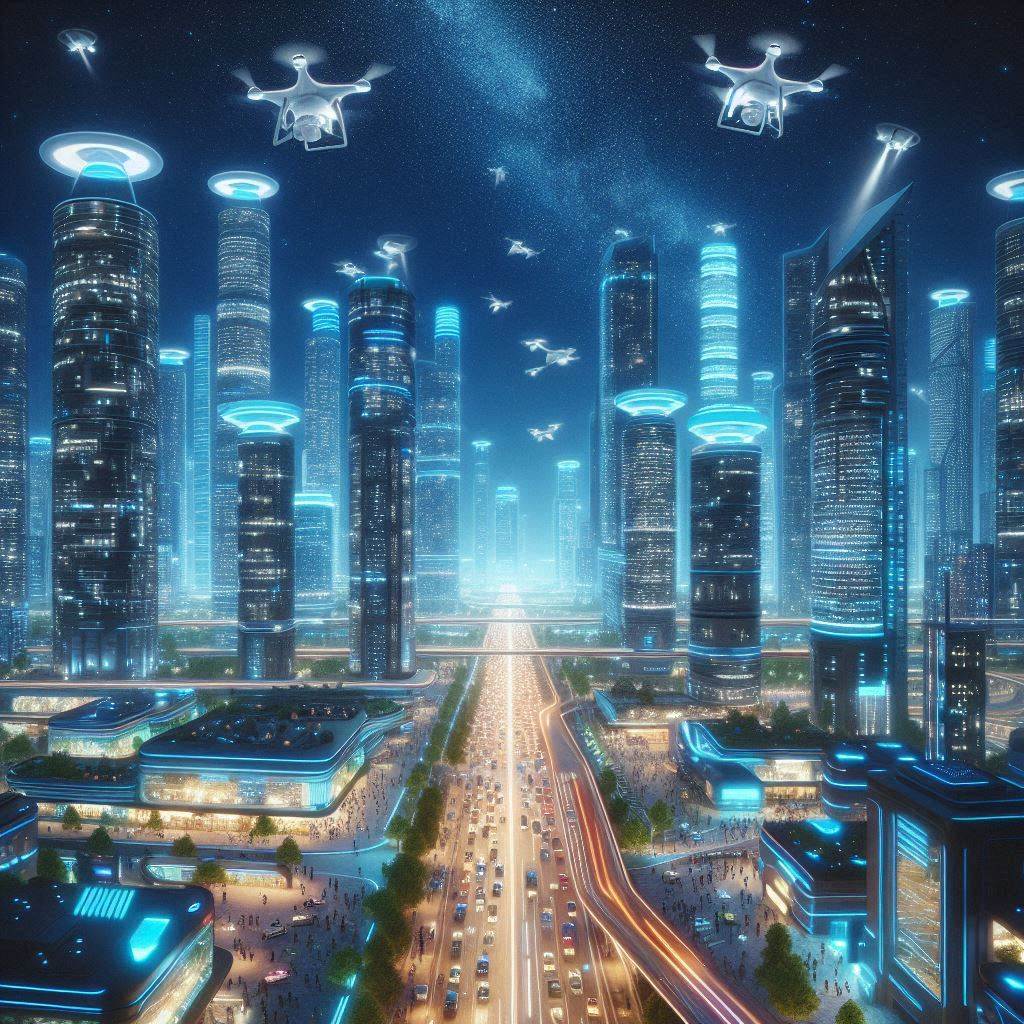
Let’s delve into a practical example to see how this works in action. Imagine you want to generate an image of a futuristic cityscape. Your prompt could be something like: "A bustling metropolis of the year 2050, filled with towering skyscrapers made of sustainable materials, adorned with neon lights against a starry night sky. People hover above the ground in personal drones, and electric vehicles zip through the air."
While Microsoft Copilot Designer primarily operates through its user interface, understanding the underlying principles can enhance your ability to craft effective prompts. Unfortunately, direct code manipulation isn’t a feature of the current version, focusing instead on intuitive design tools and pre-set options.
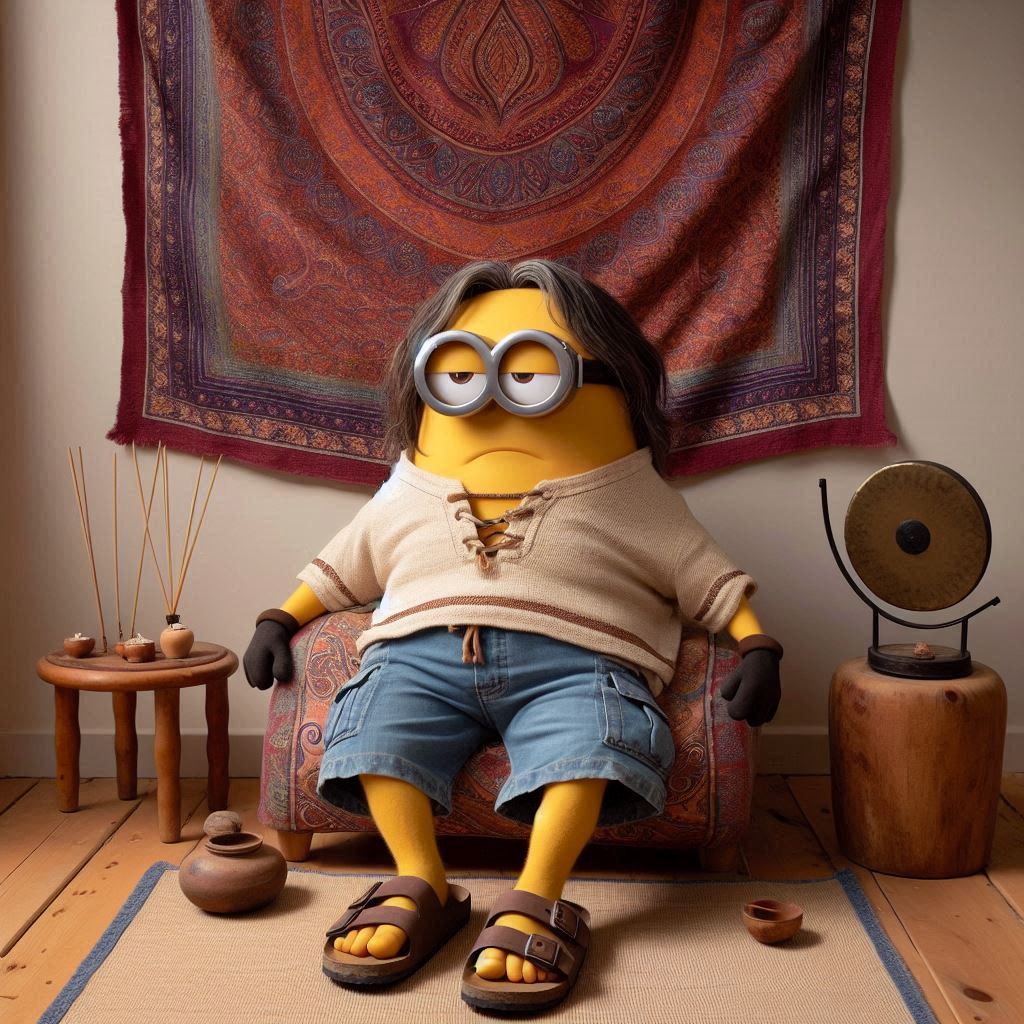
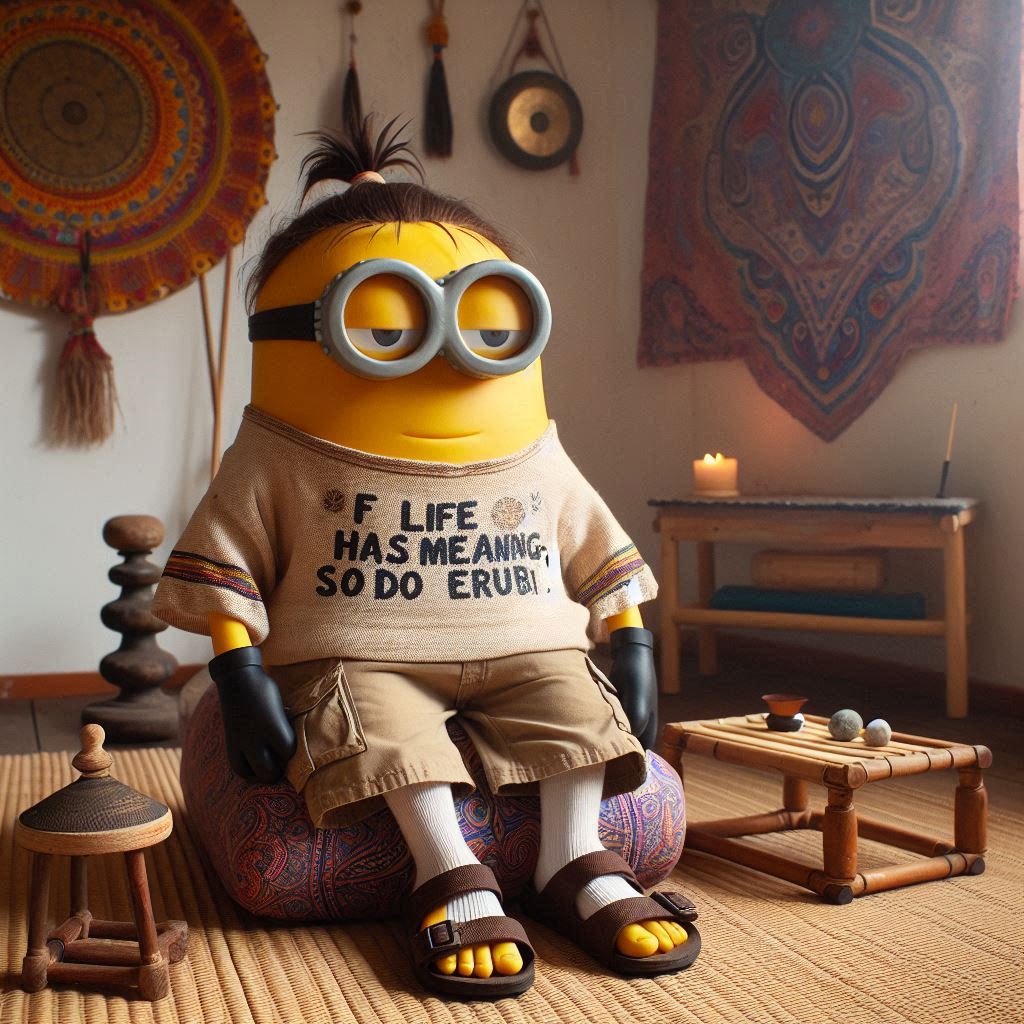
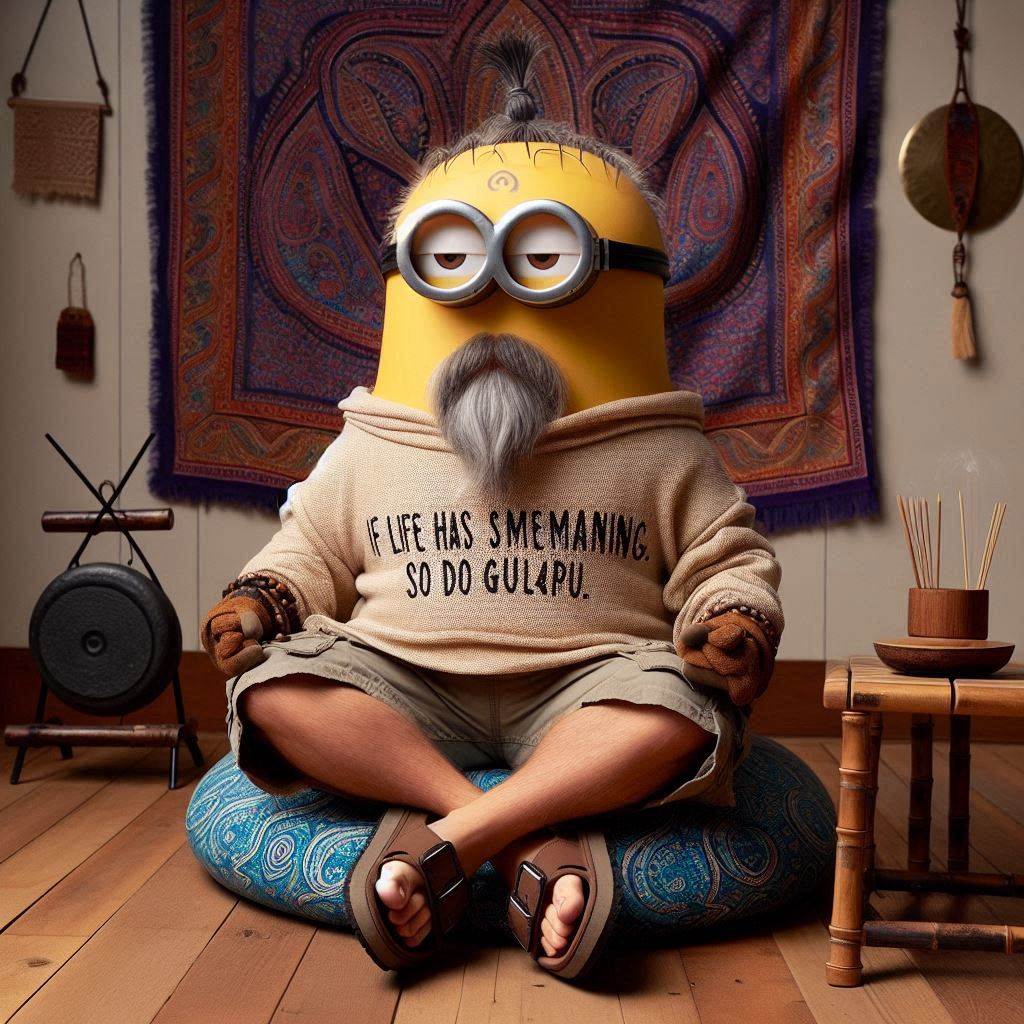
A minion who is on a spirit quest. He is wearing a woven natural fiber pullover shirt, cargo shorts and birkenstocks. He hasn't shaved in a few days, and his hair is in a bun. He is sitting with his legs crossed on a paisley pillow, with paisley print sheets hanging on the wall behind him, in his yoga studio. There are incense sticks burning and a tabletop gong sitting on a small bamboo table. His shirt says "If life has meaning, so do gru."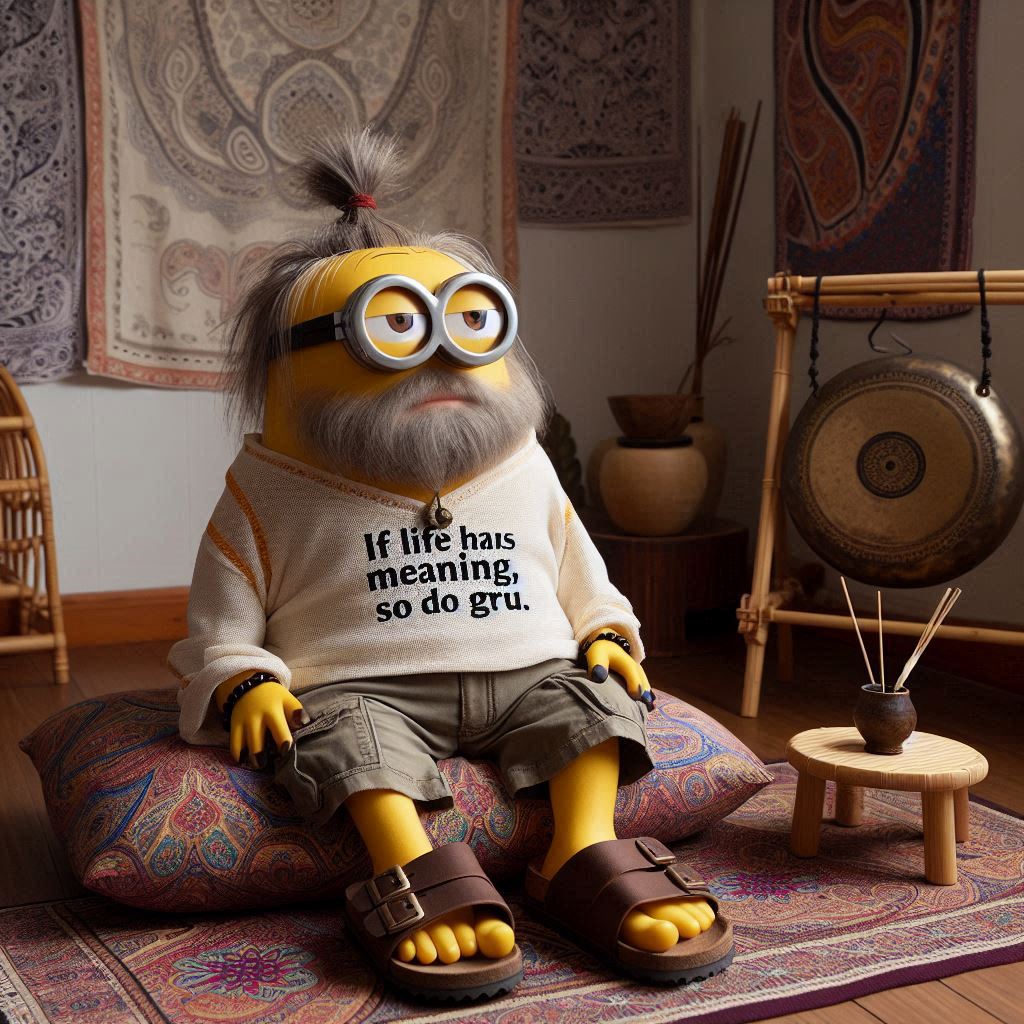
The Future of Creative Design
As you explore the depths of Microsoft Copilot Designer, remember that you’re not just generating images; you’re contributing to the evolution of creative design. The tool empowers artists, designers, and creatives to push boundaries, experiment with new ideas, and bring their visions to life in ways previously unimaginable.
In conclusion, diving into the world of image generation with Microsoft Copilot Designer is more than a skill—it’s an invitation to join the forefront of creative innovation. Embrace the power of AI-driven visuals to transform your projects and redefine what’s possible in the realm of digital artistry.